

Your vehicle’s mass air flow (MAF) sensor plays a critical role in achieving the proper air-fuel ratio necessary for optimal engine performance. The step-by-step guide below outlines the process for replacing the MAF sensor successfully and resolving any issues related to its malfunction or failure. Prior to completing this repair, reference Identifix Direct-Hit®’s vast library of confirmed fixes to verify model-specific replacement and calibration techniques.
The MAF Sensor’s Role in Engine Performance
A MAF sensor measures the amount of air flowing into the engine, providing critical information to the Engine Control Module (ECM) in determining the amount of fuel necessary to achieve an optimal air-fuel ratio. MAF sensors must continually measure air flow during normal vehicle operation, as constant readings are key to adjusting fuel trim properly. Most MAF sensors last between 100,000 and 150,000 miles.
Your vehicle’s MAF sensor is located on the air intake hose or between the airbox—which holds the air filter—and the engine. Modern MAF sensors typically incorporate two wires, one of which serves as the control wire. The other wire fluctuates in temperature as air flows over it, which helps inform fuel trim levels.
More specifically, the MAF sensor heats the second wire to a certain temperature. As air flows over the wire, the wire cools at a corresponding rate. The sensor measures the amount of energy required to reheat the wire, converting the data it gathers into information that the ECM can use to adjust the fuel accordingly.
MAF sensors wear out over time and can ultimately fail to deliver accurate readings, just like any mechanical or electrical component. Common symptoms of a faulty MAF sensor include the following:
While these symptoms are not necessarily isolated to a malfunctioning MAF sensor, a thorough diagnosis can reveal the exact root cause(s). Cleaning the MAF sensor can also help improve its performance, but a faulty MAF sensor will still need to be replaced at some point. Continuing to drive with a malfunctioning MAF can prove damaging to your car’s catalytic converter or the engine valves, potentially costing you even more in repairs.
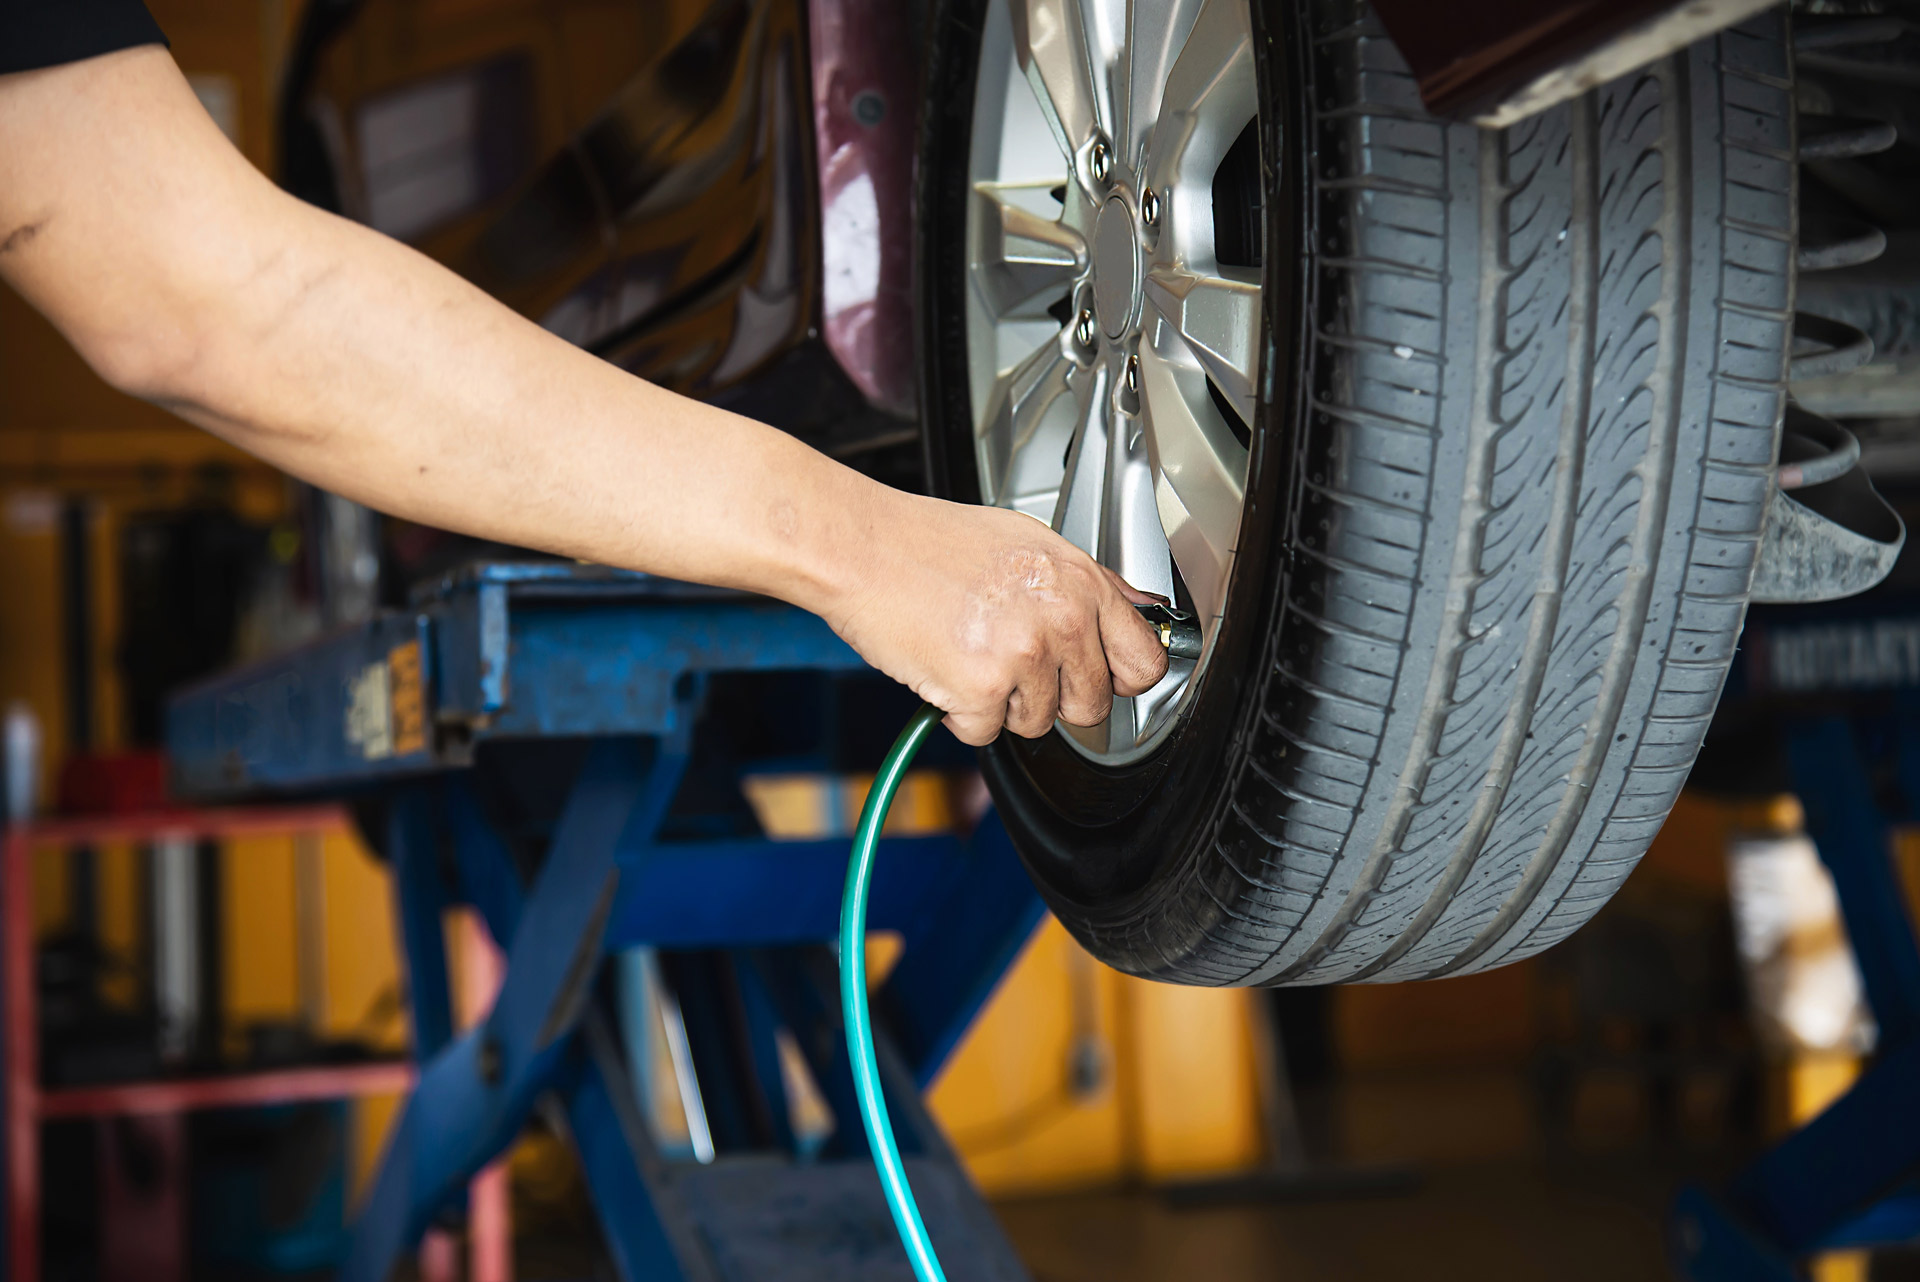
How to Replace a Mass Air Flow (MAF) Sensor
Replacing a MAF sensor can cost anywhere from $100 to $300 for parts alone—depending on make, model, and model year—in addition to a half-hour to an hour of labor at a local shop’s labor rates. You can save on labor by replacing the MAF sensor yourself, but the sensor does require careful handling and calibration in most vehicles. The step-by-step guide below demonstrates the basic process of replacing a MAF sensor, but individual steps may vary depending on your car.
1. Gather the Tools You’ll Need
The list of tools necessary to replace a MAF sensor is shorter than that of an oil change, but equally as important. In addition to a new MAF sensor—one that’s compatible with your specific vehicle’s make, model, and model year—you’ll need the following:
Don’t overlook the value of personal safety gear. New MAF sensors are especially fragile, so wearing a pair of gloves can help ensure you don’t touch the sensing element. Safety glasses also protect your eyes from any fasteners or components that spring out of place.
2. Locate the MAF Sensor
Before performing any work on the engine, disconnect the battery to eliminate the risk of electrical shock.
Next, locate the MAF sensor. It’s typically housed between the airbox and throttle body. If you’re unsure of the MAF sensor’s exact location, reference your owner’s manual.
3. Remove the Old MAF Sensor
Disconnect any electrical connections, including the MAF sensor’s wiring harness. Use a screwdriver to release any clips. Retain any fasteners you remove.
Before removing the existing MAF sensor, take a picture of its orientation for reference. Then, remove the old sensor and inspect it. Its condition can potentially tell you more about why it failed.
4. Install the New MAF Sensor
Orient the new MAF sensor properly before installing it carefully to avoid damaging the sensing element. Secure it using the same fasteners that held the old sensor in place, torquing them to the appropriate measurement, as specified in your owner’s manual. Typically, this measurement ranges between 15 and 20 foot-pounds.
After a quick inspection – and cleaning, if necessary – reconnect any electrical connections. Double-check to ensure everything is tight and secure before reconnecting the battery.
5. Take a Test Drive
Connect your OBD-II scanner to the vehicle before starting it. Clear any codes before taking it for a test drive. If the check engine light and symptoms disappear, replacing the MAF sensor likely fixed the issue.
In some cases, MAF sensors may require a specific calibration procedure. This process varies greatly among automotive manufacturers and individual models. If the new MAF sensor isn’t calibrated properly, it will not function properly.
Post-Replacement MAF Sensor Care
It’s a good idea to change out the air filter when you swap the MAF sensors. A new air filter will remove more contaminants from the air entering the engine, ideally prolonging the lifespan of the new MAF sensor. Using high-quality fuel, avoiding dusty roads and harsh driving conditions, and maintaining a clean and healthy engine can also contribute to a MAF sensor’s longevity.
Master Model-Specific Maintenance and Faults with Identifix
Modern vehicles incorporate complex systems and delicate components that require an experienced hand to diagnose and resolve repairs successfully and efficiently. Identifix Direct-Hit and Direct-Hit Mobile enable technicians and DIYers to streamline diagnostic and repair processes through a vast library of make-and-model-specific data. Contact us to learn more about how Identifix can help you confidently tackle routine maintenance and unplanned repairs. Did you like this article? Find more great content at identifx.com/blogs and solera.com/blog.
Identifix is the leading provider of automotive repair shop solutions and sevices designed to improve shop profitability and repair outcomes.
"*" indicates required fields